Meeting and webinar participants who are viewing a shared screen can switch to side-by-side mode, which allows them to see the shared screen alongside Speaker, Gallery, or Multi-speaker view, depending on which view they choose. They can also adjust the location of the separator between the shared screen and video to change the relative size of each side.
Webinar hosts can also specify the attendees view of shared screen is in side-by-side mode.
This article covers:
- How to view a shared screen in side-by-side mode
- How to automatically enter side-by-side mode when a screen share starts
Prerequisites for using Side-by-side mode screen sharing
- Zoom desktop client for Windows, macOS, or Linux, Global minimum version or higher
- Note: Side-by-side mode does not work if the dual-monitors setting is enabled.
Multi-speaker layout:
- Zoom Workplace desktop app
- Windows: 6.0.0 or higher
- macOS: 6.0.0 or higher
How to view a shared screen in side-by-side mode
- Start or join a meeting.
- In the top-right corner of the meeting window, click View
 .
.
Additional options will appear.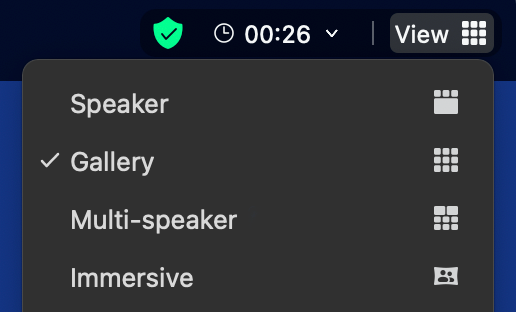
- Select one of the following layouts:
- Side-by-side: speaker
- Side-by-side: gallery
- Side-by-side: multi-speaker
- (Optional) Hover your pointer over the boundary between the shared screen and participants' video until your pointer changes to a double arrow and you see a grey line separating both views. Click and drag the separator to adjust the size of each view.

Upon leaving side-by-side mode, video thumbnails are displayed either above the content when in windowed mode (similar to speaker view) or over the content in the top-right corner of the screen when in fullscreen. These thumbnails during fullscreen can be moved by clicking and dragging. 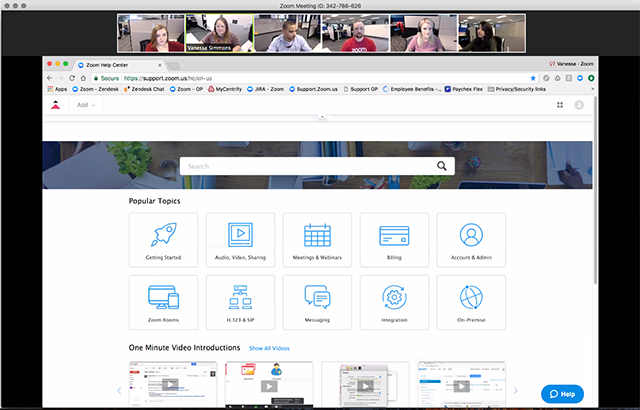
How to automatically enter side-by-side mode when a screen share starts
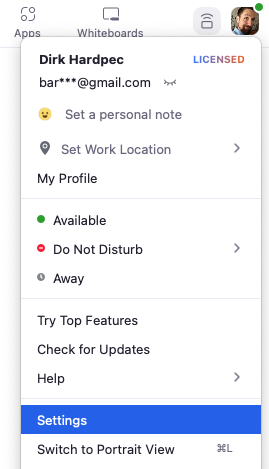
- Sign in to the Zoom desktop client.
- Click your profile picture, then click Settings.
- Click the Share Screen tab.
- Click the Side-by-dide mode check box.
Zoom will automatically enter side-by-side mode when a participant starts sharing their screen.